NVCurve Logo

NVCurve

Linux NVIDIA GPU V/F Curve Editor & OC Tool

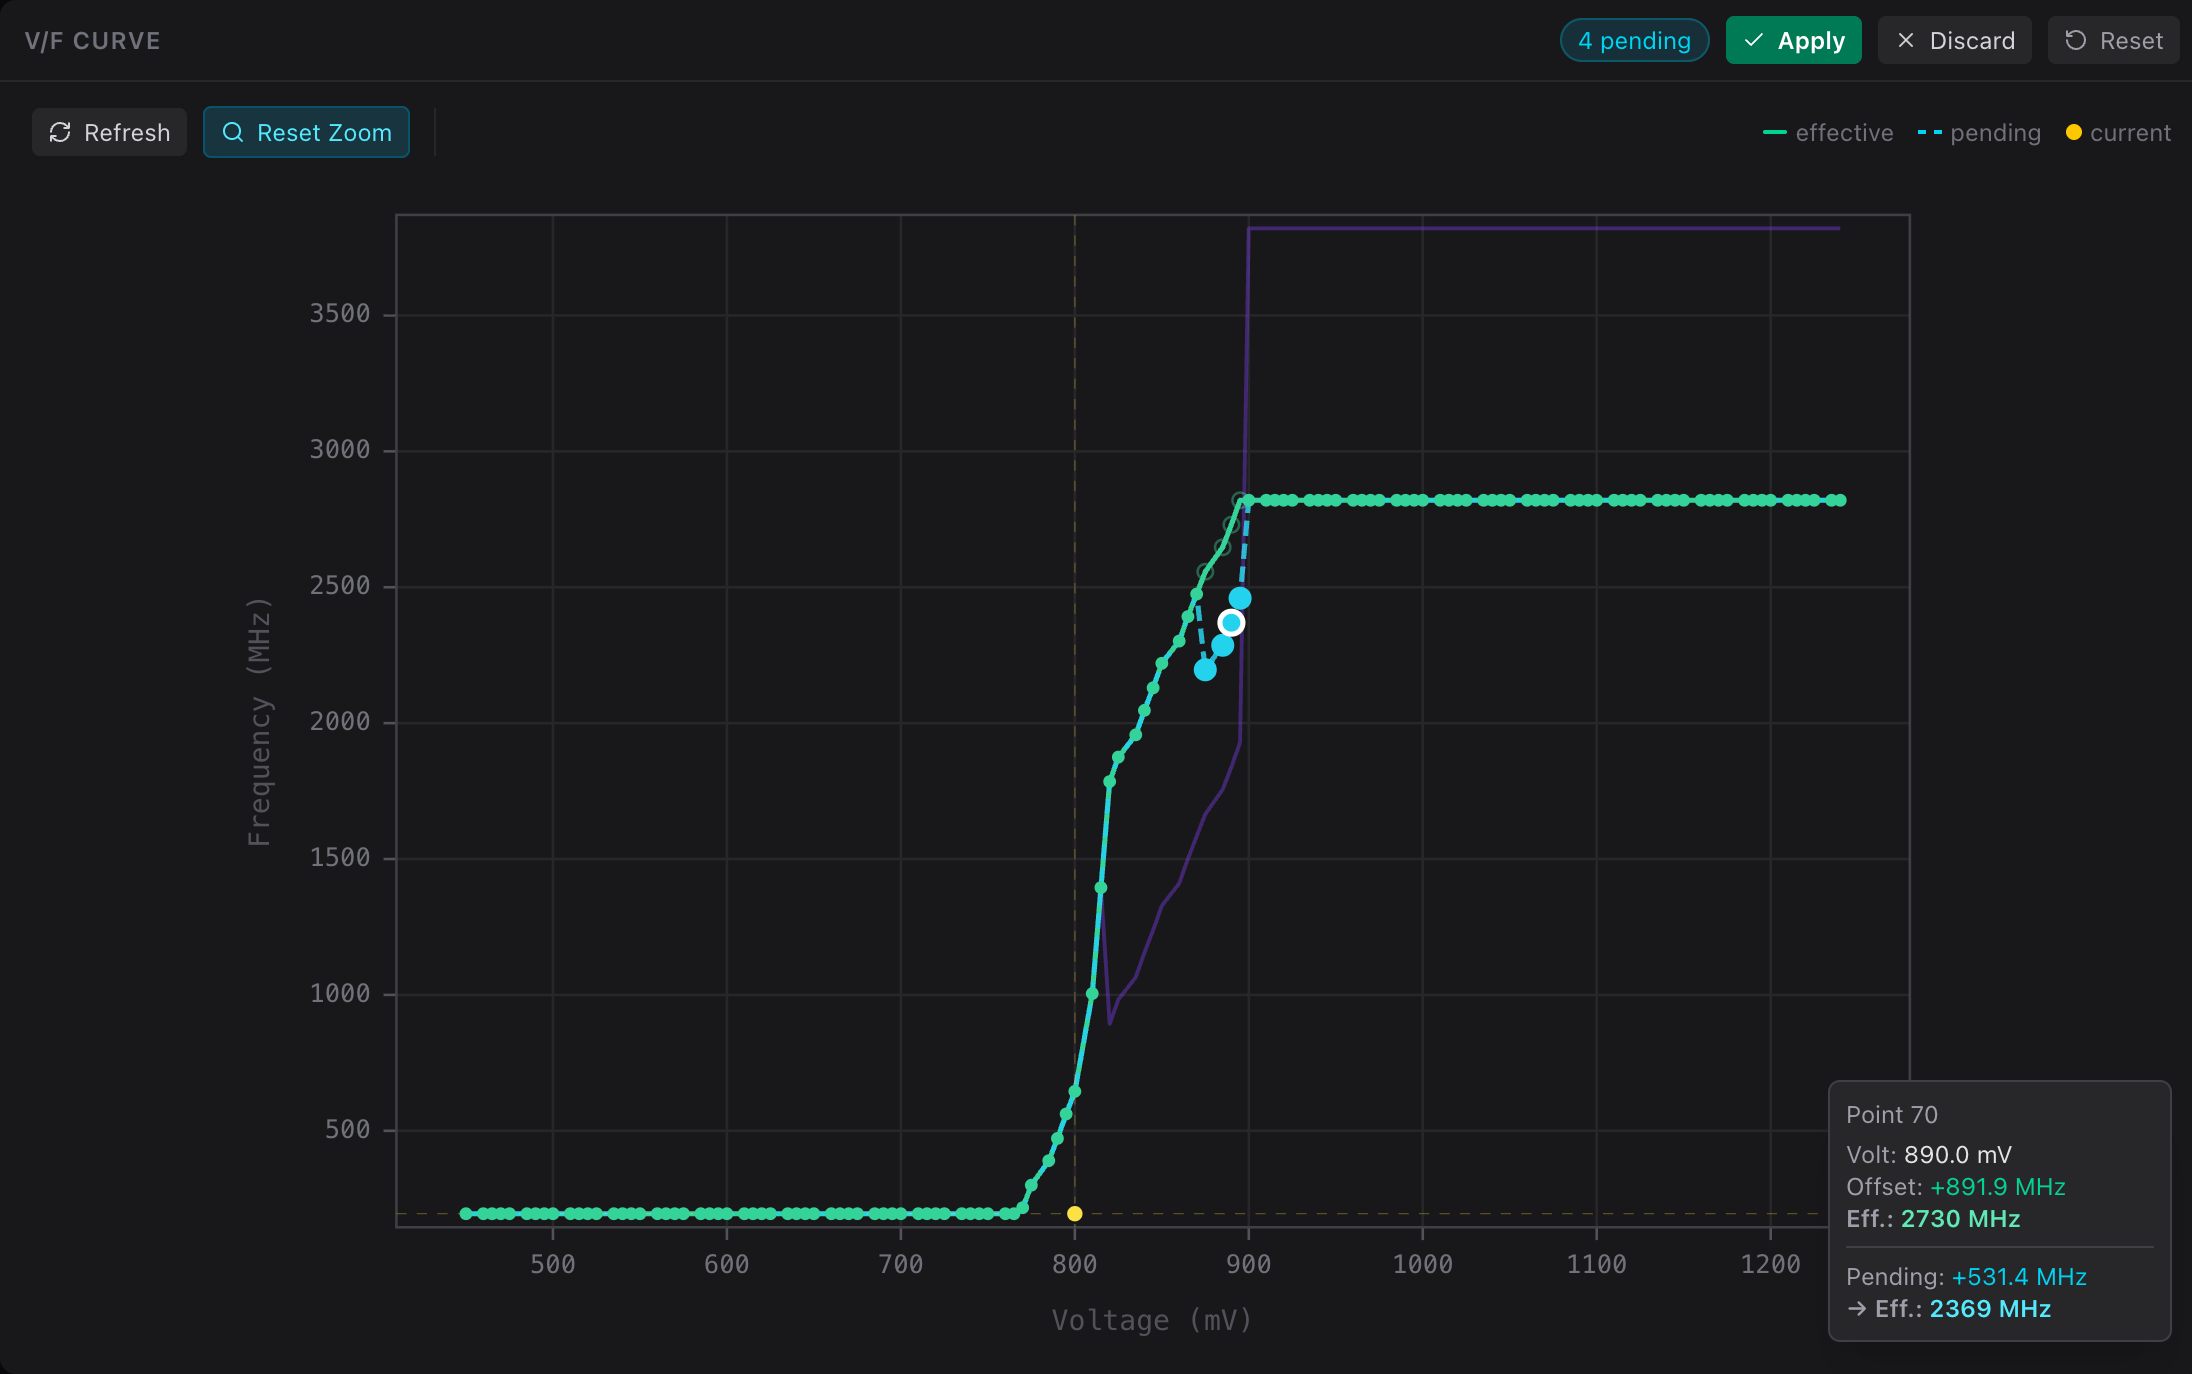
--- NVCurve brings MSI Afterburner-style per-point voltage-frequency curve control to Linux via undocumented NvAPI functions. A React web UI for interactive editing and monitoring; a Python CLI for scripting and headless use. > [!WARNING] > **Experimental software.** Undocumented NvAPI functions may change between driver releases. Write operations alter GPU operational parameters. Always run `nvcurve setup` before applying changes. > [!IMPORTANT] > **Blackwell GPU Fork** — This is a specialized fork with extended memory offset support (> +1000 MHz) and custom fan curve control for Blackwell GPUs (RTX 50-series). Installing the pre-built PyPI package will NOT include these features. You must build from source. ![NVCurve curve editor](.github/screenshots/curve-editor.png) ## Prerequisites - **Linux** with NVIDIA proprietary drivers - **Python 3.12+** - **Node.js 18+** and **npm** (for building the React frontend) - **[uv](https://docs.astral.sh/uv/)** — Python package manager - **Root/sudo access** (required for GPU hardware interactions) ## Installation from Source ```bash git clone .git cd nvcurve # Build the React frontend cd frontend npm install npm run build cd .. # Install the Python package (includes bundled frontend) uv tool install . ``` After installation, verify hardware compatibility: ```bash nvcurve setup ``` ## Getting Started ```bash nvcurve # Launch web UI at http://localhost:8042 nvcurve read # Quick curve read from CLI ``` ## Authentication (Multi-User) The server runs **open by default**. On a shared machine (e.g. an AI server), add users to require a login — the web UI then shows a sign-in screen and every API/WebSocket call is protected. Passwords are stored as **bcrypt** hashes; sessions last **24 hours**. ```bash sudo nvcurve user add alice # add a user (prompts for password) nvcurve user list # list users sudo nvcurve user remove alice # remove a user ``` Adding the first user enables authentication immediately; removing the last user disables it. See the [Usage Guide](docs/Usage-Guide.md#authentication-multi-user) for details. ## Systemd Service Install the daemon for automatic profile loading on boot and optional web server auto-start: ### Install with web server auto-start ```bash nvcurve service install --auto-serve --host 0.0.0.0 --port 8042 ``` ### Install daemon only (start web server on demand) ```bash nvcurve service install ``` ### Manage ```bash nvcurve service start|stop|restart|status nvcurve service uninstall ``` ### Reconfigure ```bash nvcurve service configure --auto-serve # Enable web server auto-start nvcurve service configure --no-auto-serve # Disable web server auto-start nvcurve service configure --host 0.0.0.0 --port 8042 ``` ### Manual systemd Unit If you prefer managing the unit file directly, here is the template installed by `nvcurve service install`: ```ini [Unit] Description=NVCurve NVIDIA GPU V/F Curve Daemon After=nvidia-persistenced.service Wants=nvidia-persistenced.service [Service] Type=simple ExecStart=/usr/bin/python3 -m nvcurve daemon Restart=on-failure RestartSec=5 Environment=PYTHONDONTWRITEBYTECODE=1 [Install] WantedBy=multi-user.target ``` Place at `/etc/systemd/system/nvcurve.service`, then: ```bash sudo systemctl daemon-reload sudo systemctl enable --now nvcurve ``` ### Persistent Configuration The daemon reads settings from `/etc/nvcurve/config.json`: ```json { "host": "127.0.0.1", "port": 8042, "auto_serve": false, "max_delta_khz": 3000000, "auto_snapshot": true, "max_snapshots": 20, "auto_load_profiles": { "idx:0": "my_profile" } } ``` | Setting | Description | | --- | --- | | `host` | Web server bind address (`0.0.0.0` for network access) | | `port` | Web server port (default `8042`) | | `auto_serve` | Auto-start web server on boot | | `max_delta_khz` | Safety cap for frequency offsets (default 3000 MHz) | | `auto_snapshot` | Save snapshot before every write | | `max_snapshots` | Max snapshots to keep (`0` = unlimited) | | `auto_load_profiles` | Per-GPU profile to apply on boot (`{gpu_key: profile_name}`) | The GPU key can be a UUID, `pci:XXXX`, or `idx:N` fallback. Find your GPU key with `nvcurve gpus`. ## Documentation - **[Overview](docs/Overview.md)** — What it does, capabilities, architecture - **[Installation](docs/Installation.md)** — Prerequisites, source build, troubleshooting - **[Usage Guide](docs/Usage-Guide.md)** — Web UI, CLI reference, systemd service - **[Tips and Tricks](docs/Tips-and-Tricks.md)** — Workflows, curve flattening, safety ## Upgrading ```bash cd nvcurve git pull cd frontend && npm run build && cd .. uv tool install . ``` If running as a systemd service: ```bash nvcurve service restart ``` ## Changelog See [CHANGELOG.md](CHANGELOG.md).